I wanted to create something different for a holiday tree this year. I was inspired by this wall hanging christmas tree and thought to build a taller version for myself for less money and I did!
This wall Christmas tree is made with lattice strips and pine garland from Lowe’s and decorated with lights and ornaments just like any holiday tree, but this version is flat on the wall so it’s perfect for small spaces!

The “trunk” which supports the design is painted the same as the wall color so it recedes into the background.

To recreate one for yourself the supplies are: two 8’ lengths of 3/4” pine lattice; 9 feet of pine holiday garland; 1¼” wood screws; battery operated lights; large picture hanging strips; paint (same color as wall); holiday sprays and ornaments of choice; miter saw; level, paintbrush; pencil; wire cutters; floral wire.
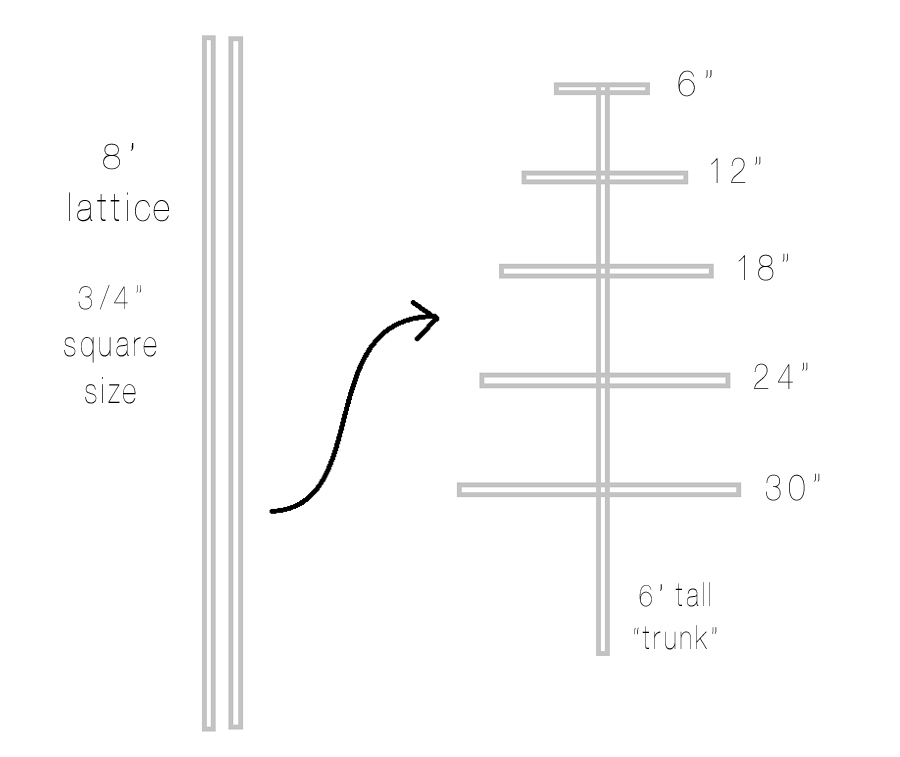
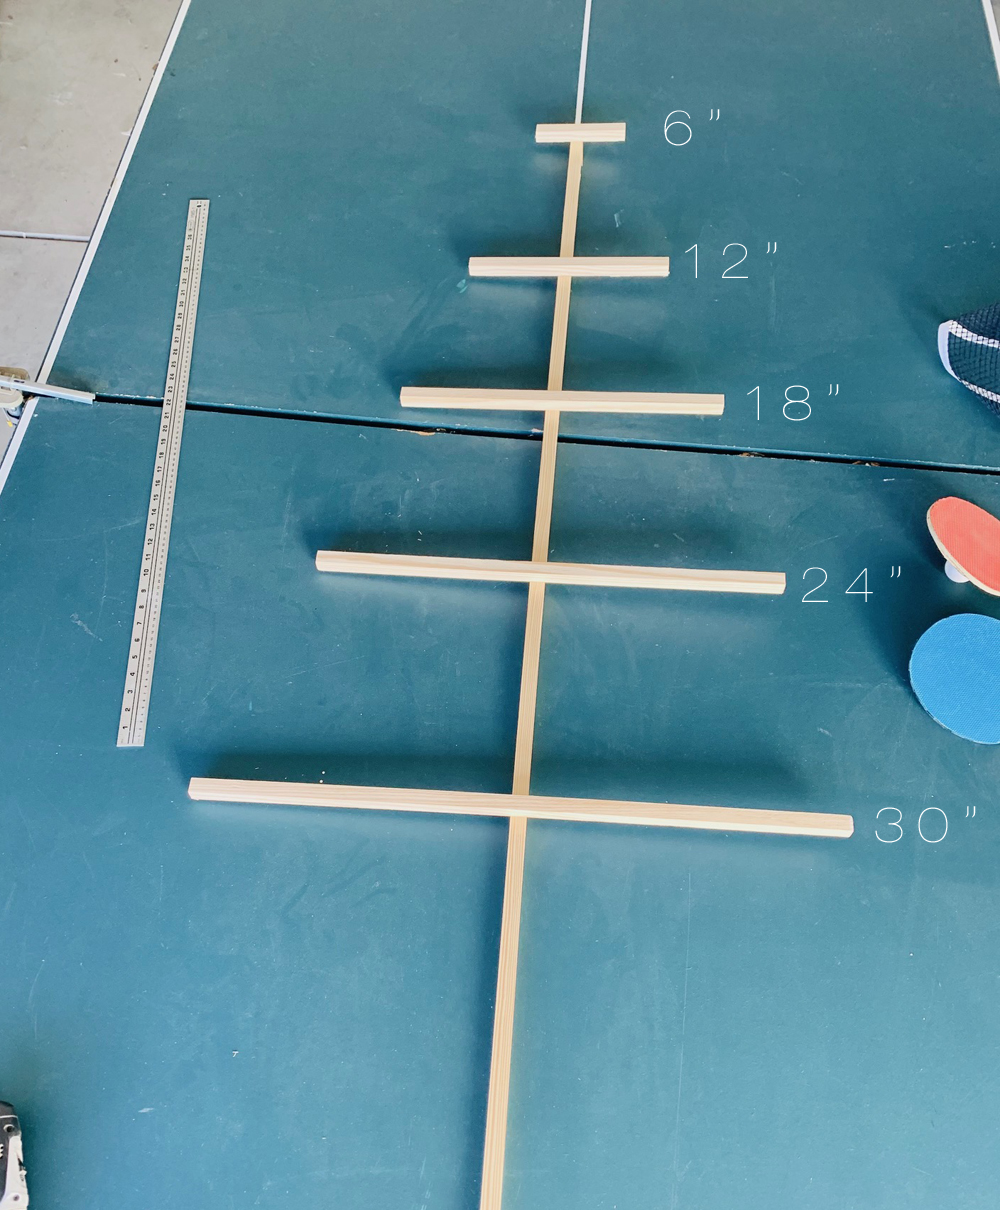
First, cut the two 8’ strips of ¾” lattice into the lengths shown: 6’ “trunk” with 5 “branches” in the following sizes: 30”, 24”, 18”, 12”, 6”.
With a level and pencil, mark the 6’ “trunk”on the wall. Apply the picture hanging strips to the back of the tree “trunk” and (following the instructions) press the back of adhesive hanging strips to wall. Remove it from the wall and paint it the same color as the wall so it blends with the background.
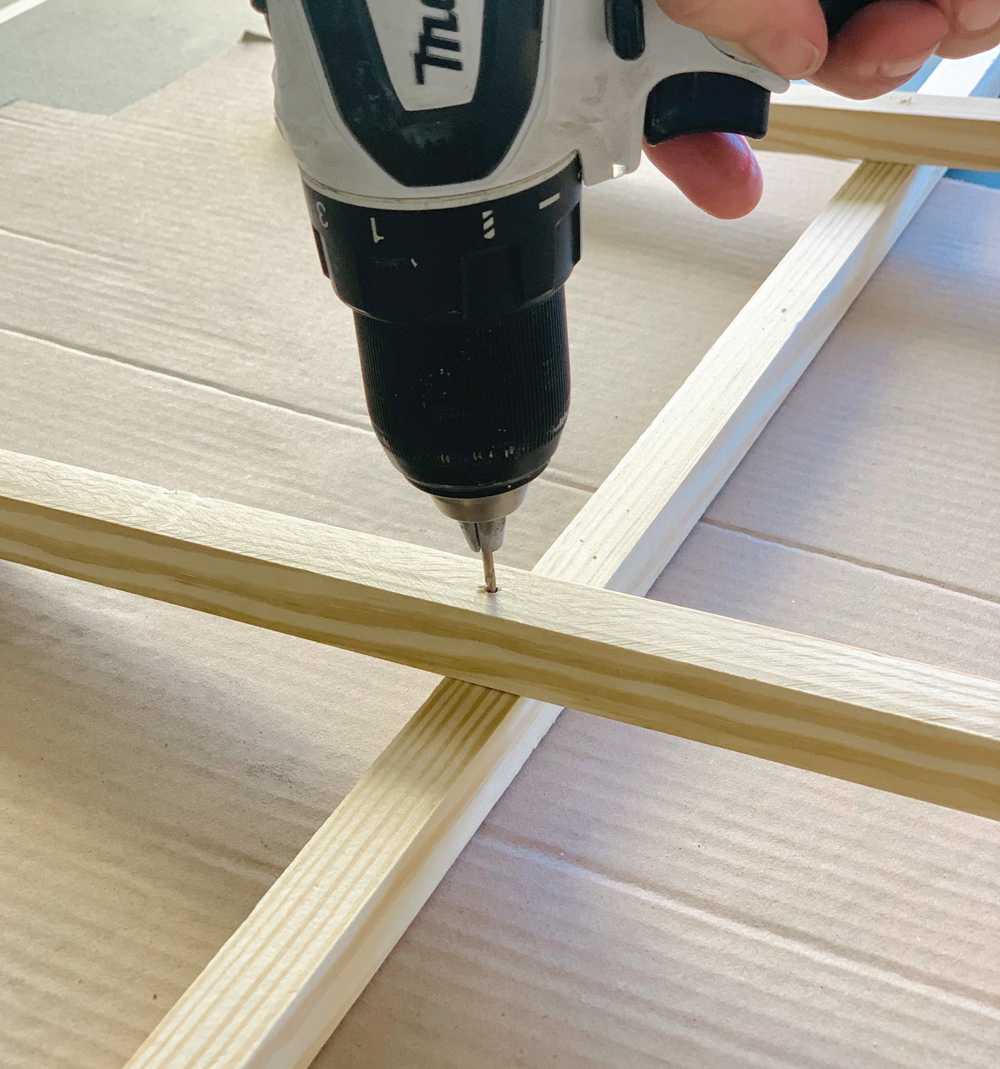
Mark a 12” separation between the “branches” on the “trunk” and drill pilot holes through the center.
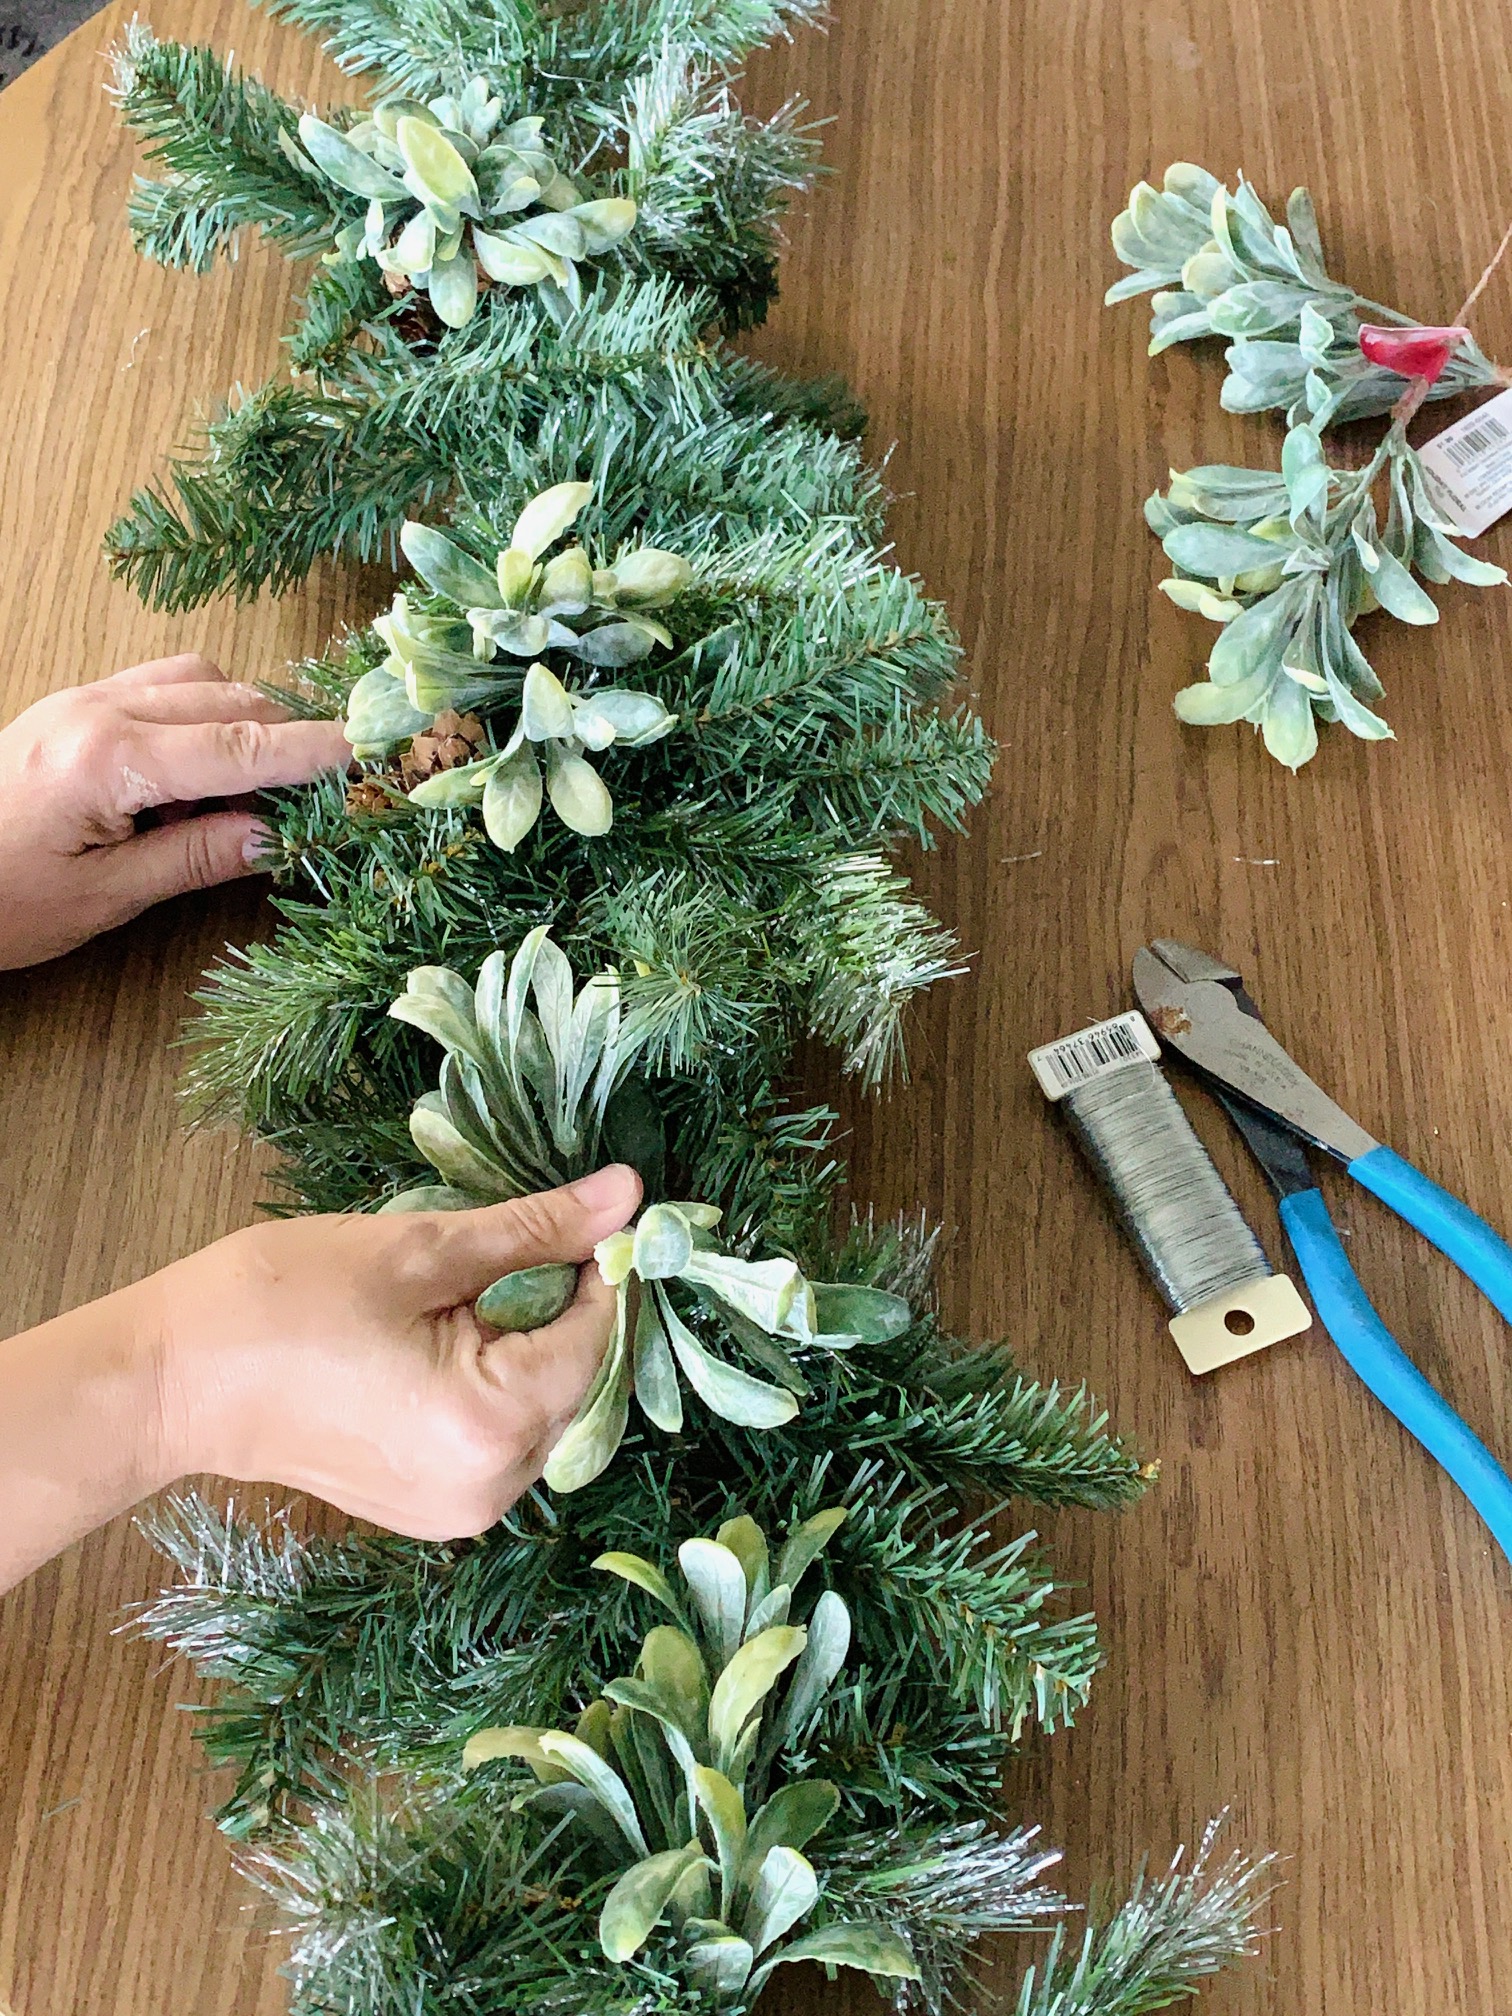
Cut the 9’ pine garland with wire cutters into the lengths of the “branches”.
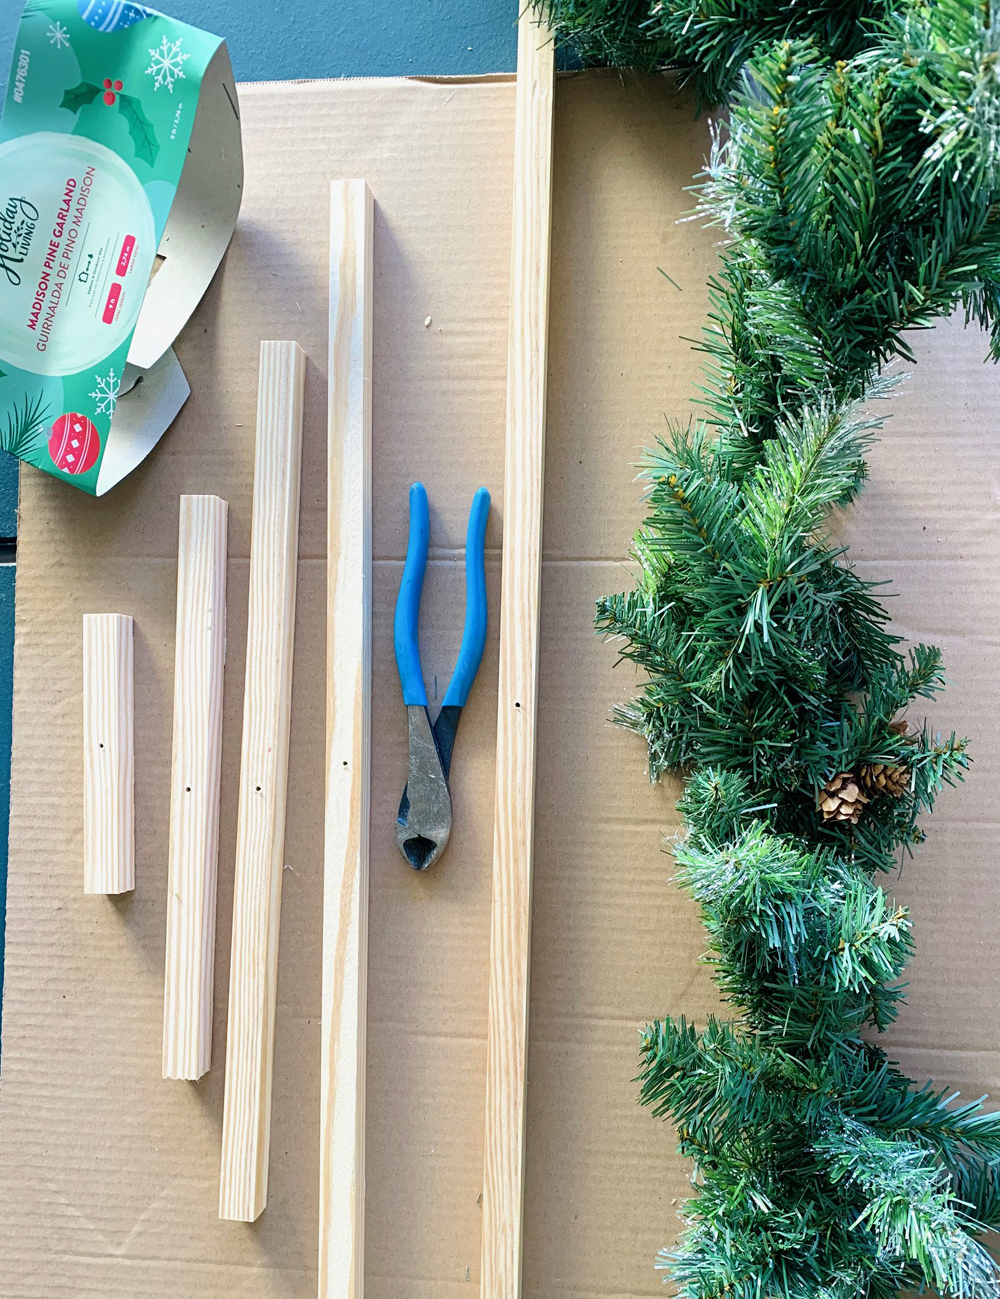
Using floral wire, attach the trimmed piece of pine garland to the individual “branches” and insert any berry or leaf sprays.
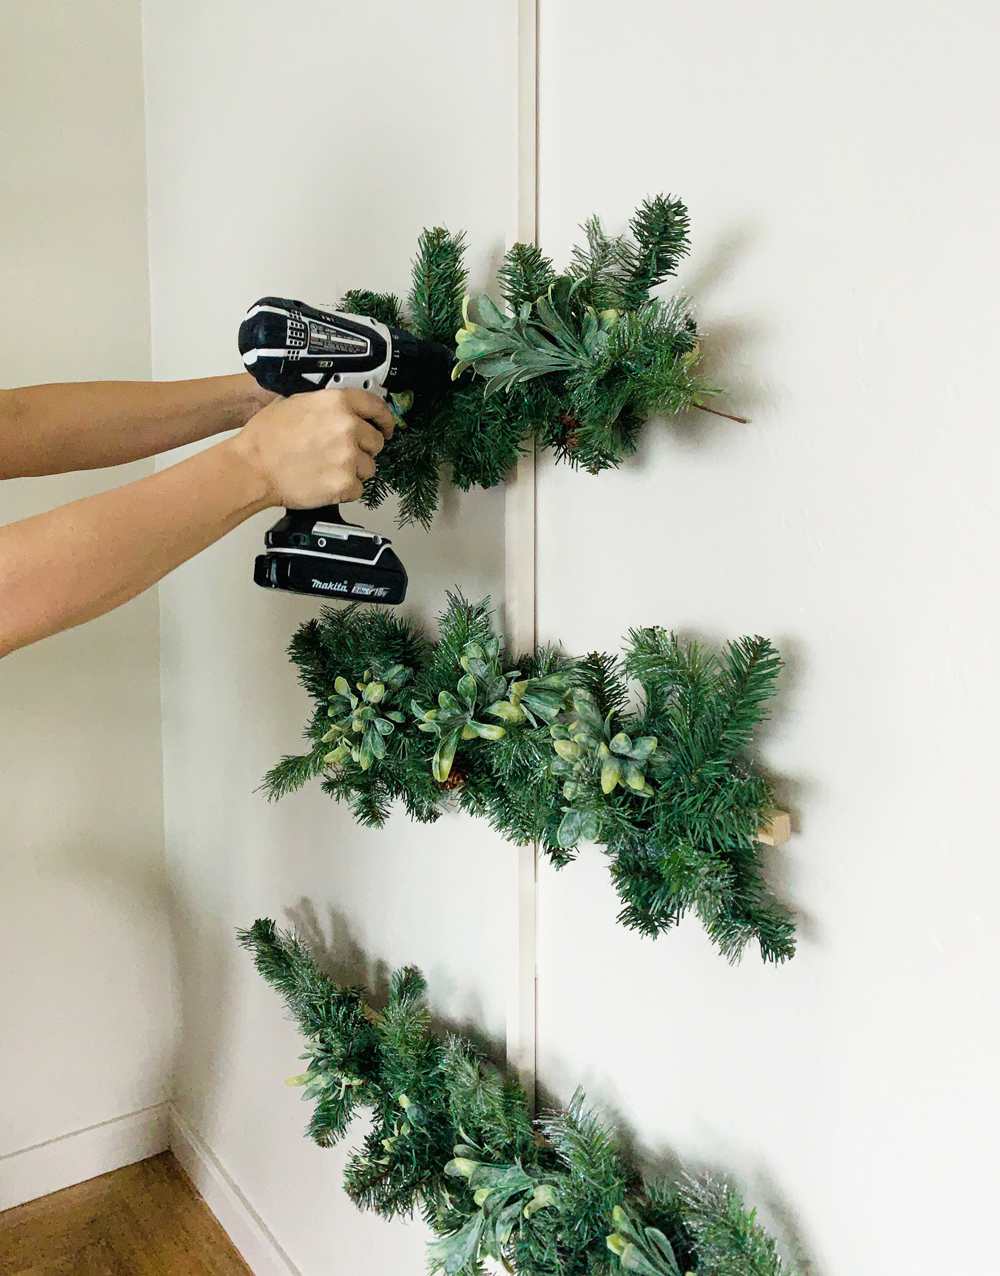
One the paint on the “trunk” is dry, reattach it to the wall with the Command large picture hanging strips. Using a drill or screwdriver, attach the garland embellished branches to the “trunk” with wood screws.
Add battery lights, hang ornaments, and add any other decor!


You could also use the same tree to display your holiday cards too!
See today’s Instagram Reels for the full step by step video. 🙂